Installation Guide
This guide provides detailed instructions for installing Kite in a Kubernetes environment.
Prerequisites
kubectlwith cluster administrator privileges- Helm v4, or Helm v3.8+ for OCI chart installation
- MySQL/PostgreSQL database, or local storage for sqlite
Installation Methods
Method 1: Helm Chart (Recommended)
Using Helm provides flexibility for configuration and upgrades:
Install from OCI registry:
helm install kite oci://ghcr.io/kite-org/charts/kite -n kite-system --create-namespaceOr install from Helm repository:
# Add Kite repository
helm repo add kite https://kite-org.github.io/kite/

# Update repository information
helm repo update

# Install with default configuration
helm install kite kite/kite -n kite-system --create-namespace
Custom Installation
You can adjust installation parameters by customizing the values file:
For complete configuration, refer to Chart Values.
Install with custom values:
helm install kite oci://ghcr.io/kite-org/charts/kite -n kite-system -f values.yaml

# Or use the Helm repository
helm install kite kite/kite -n kite-system -f values.yaml
Method 2: YAML Manifest
For quick deployment, you can directly apply the official installation YAML:
WARNING
This method is not suitable for production environments, as it does not include any configuration related to persistence. You need to manually mount the persistence volume and set the environment variable DB_DSN=/data/db.sqlite to ensure that data is not lost. Alternatively, you can use an external database.
see Persistence Issues for more details.
kubectl apply -f https://raw.githubusercontent.com/kite-org/kite/main/deploy/install.yamlThis method will install Kite with default configuration. For advanced customization, it's recommended to use the Helm Chart.
Accessing Kite
Port Forwarding (Testing Environment)
During testing, you can quickly access Kite through port forwarding:
kubectl port-forward -n kite-system svc/kite 8080:8080LoadBalancer Service
If the cluster supports LoadBalancer, you can directly expose the Kite service:
kubectl patch svc kite -n kite-system -p '{"spec": {"type": "LoadBalancer"}}'Get the assigned IP:
kubectl get svc kite -n kite-systemIngress (Recommended for Production)
For production environments, it's recommended to expose Kite through an Ingress controller with TLS enabled:
WARNING
Kite's log and web terminal features require websocket support. Some Ingress controllers may require additional configuration to handle websockets correctly.
apiVersion: networking.k8s.io/v1
kind: Ingress
metadata:
  name: kite
  namespace: kite-system
spec:
  ingressClassName: nginx
  rules:
    - host: kite.example.com
      http:
        paths:
          - path: /
            pathType: Prefix
            backend:
              service:
                name: kite
                port:
                  number: 8080
  tls:
    - hosts:
        - kite.example.com
      secretName: kite-tls
Serving under a subpath (basePath)
If you want to serve Kite under a subpath (for example https://example.com/kite), use the Helm chart basePath value.
How to set it:
- In
values.yaml:
basePath: "/kite"- Or with Helm CLI:
helm install kite oci://ghcr.io/kite-org/charts/kite -n kite-system --create-namespace --set basePath="/kite"Important notes:
- Ingress configuration: make sure your Ingress
pathsmatch the subpath and use a matching pathType (e.g.,Prefix). Example:
ingress:
  enabled: true
  hosts:
    - host: kite.example.com
      paths:
        - path: /kite
pathType: Prefix- OAuth / redirects: if you enable OAuth (or any external redirect flows), update the redirect URLs in your OAuth provider to include the base path, e.g.
https://kite.example.com/kite/oauth/callback. - Environment overrides: if you provide environment variables via
extraEnvsor an existing secret, ensureKITE_BASEis set consistently with thebasePathvalue (otherwise behavior may differ).
Verifying Installation
After installation, you can access the dashboard to verify that Kite is deployed successfully. The expected interface is as follows:
TIP
If you need to configure Kite through environment variables, please refer to Environment Variables.
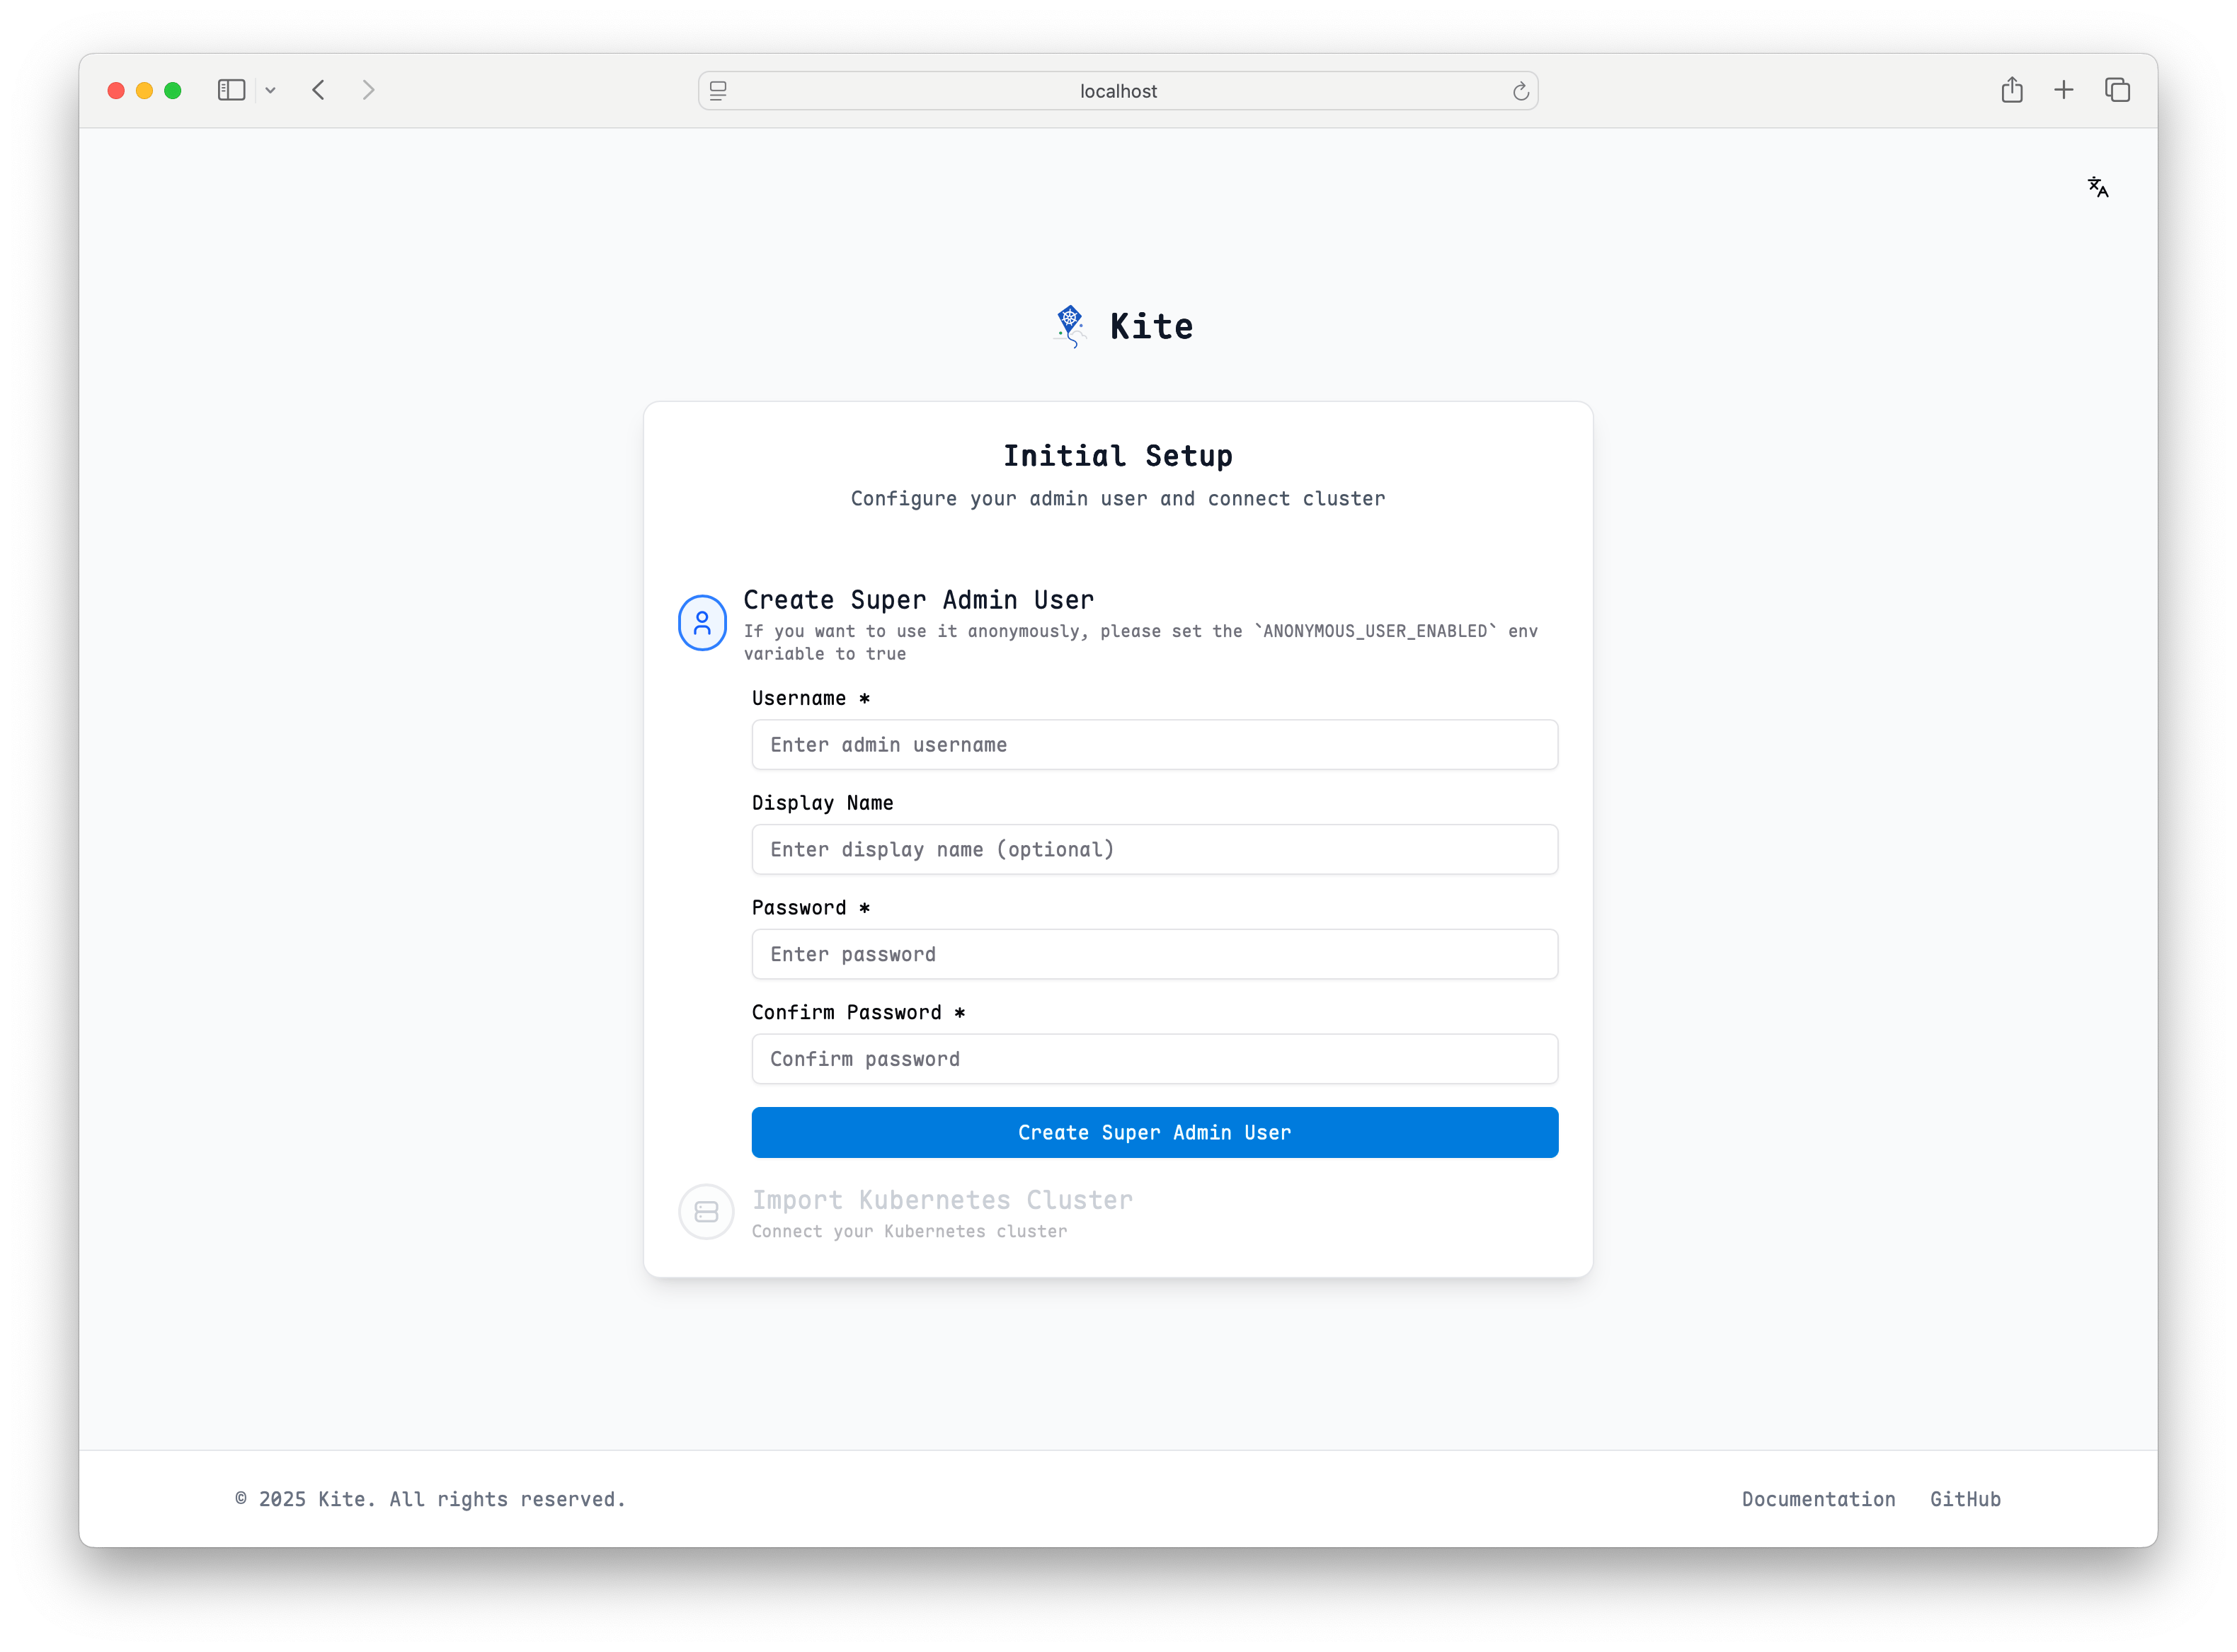
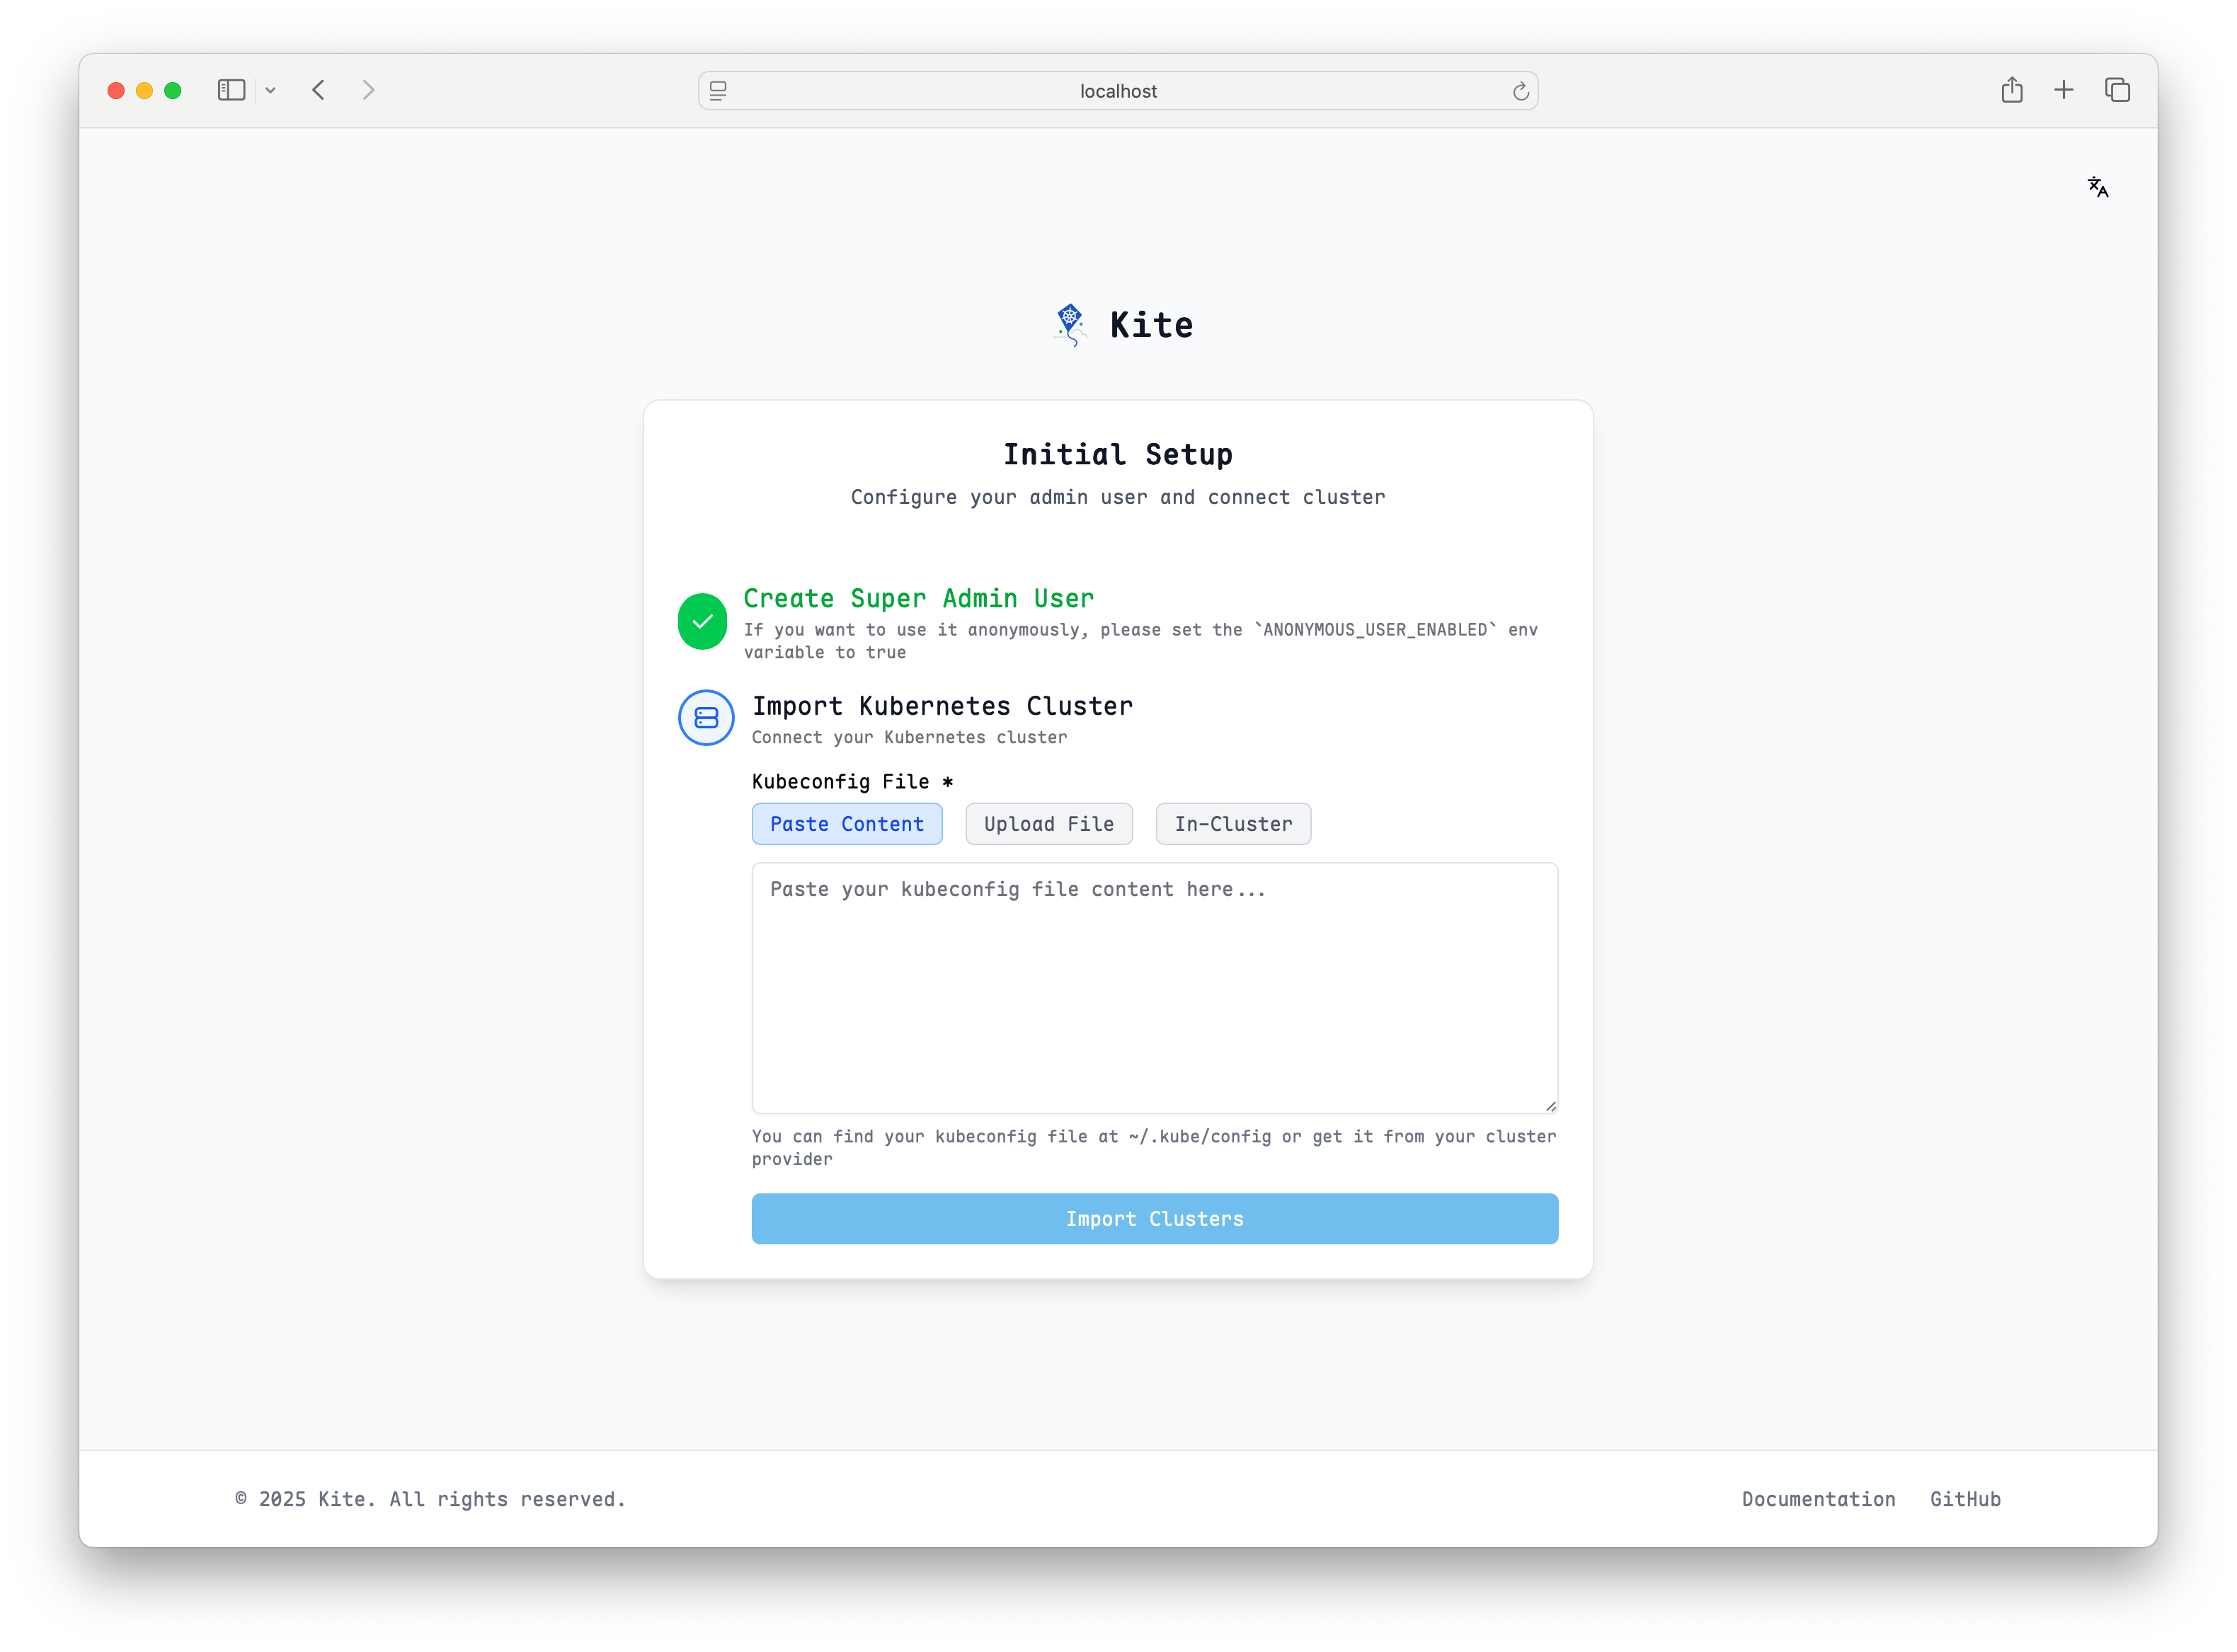
You can complete cluster setup according to the page prompts.
Quick Setup with In-Cluster Mode
For the simplest setup, select in-cluster as the cluster type. This option automatically uses the service account credentials that Kite is running with inside the cluster, requiring no additional configuration:
- No kubeconfig needed: Kite will use its own service account to access the Kubernetes API
- Automatic authentication: Works out of the box with the default RBAC permissions
- Ideal for single-cluster deployments: Perfect when Kite is managing the same cluster it's running in
This is the recommended option for getting started quickly, especially in development or when Kite only needs to manage its own cluster.
Uninstalling Kite
Helm Uninstall
helm uninstall kite -n kite-systemYAML Uninstall
kubectl delete -f https://raw.githubusercontent.com/kite-org/kite/main/deploy/install.yamlNext Steps
After Kite installation is complete, you can continue with: