OAuth Setup Guide
This guide explains how to configure OAuth authentication for Kite, supporting multiple authentication providers.
Creating OAuth Applications at Providers
- Log in to your OAuth provider account (such as GitHub, Google, etc.).
- Create a new OAuth application and fill in the necessary information.
- In the redirect URI, fill in
https://${HOST}/api/auth/callback, replacing${HOST}with your Kite deployment address.- For example, if your Kite is deployed at
kite.example.com, the redirect URI should behttps://kite.example.com/api/auth/callback. - Kite uses the backend Host and protocol from the request to generate the redirect Host by default.
- If kite is deployed behind a proxy, it will read the
X-Forwarded-HostandX-Forwarded-Protoheaders by default. - If the above information is not available, you can configure the
HOSTenvironment variable to specify explicitly.
- For example, if your Kite is deployed at
- Record the generated Client ID and Client Secret.
Configuration
In the user interface with the admin role, the settings entry will be displayed in the upper right corner of the page.
Follow the instructions on the page to fill in the basic information to use OAuth login. 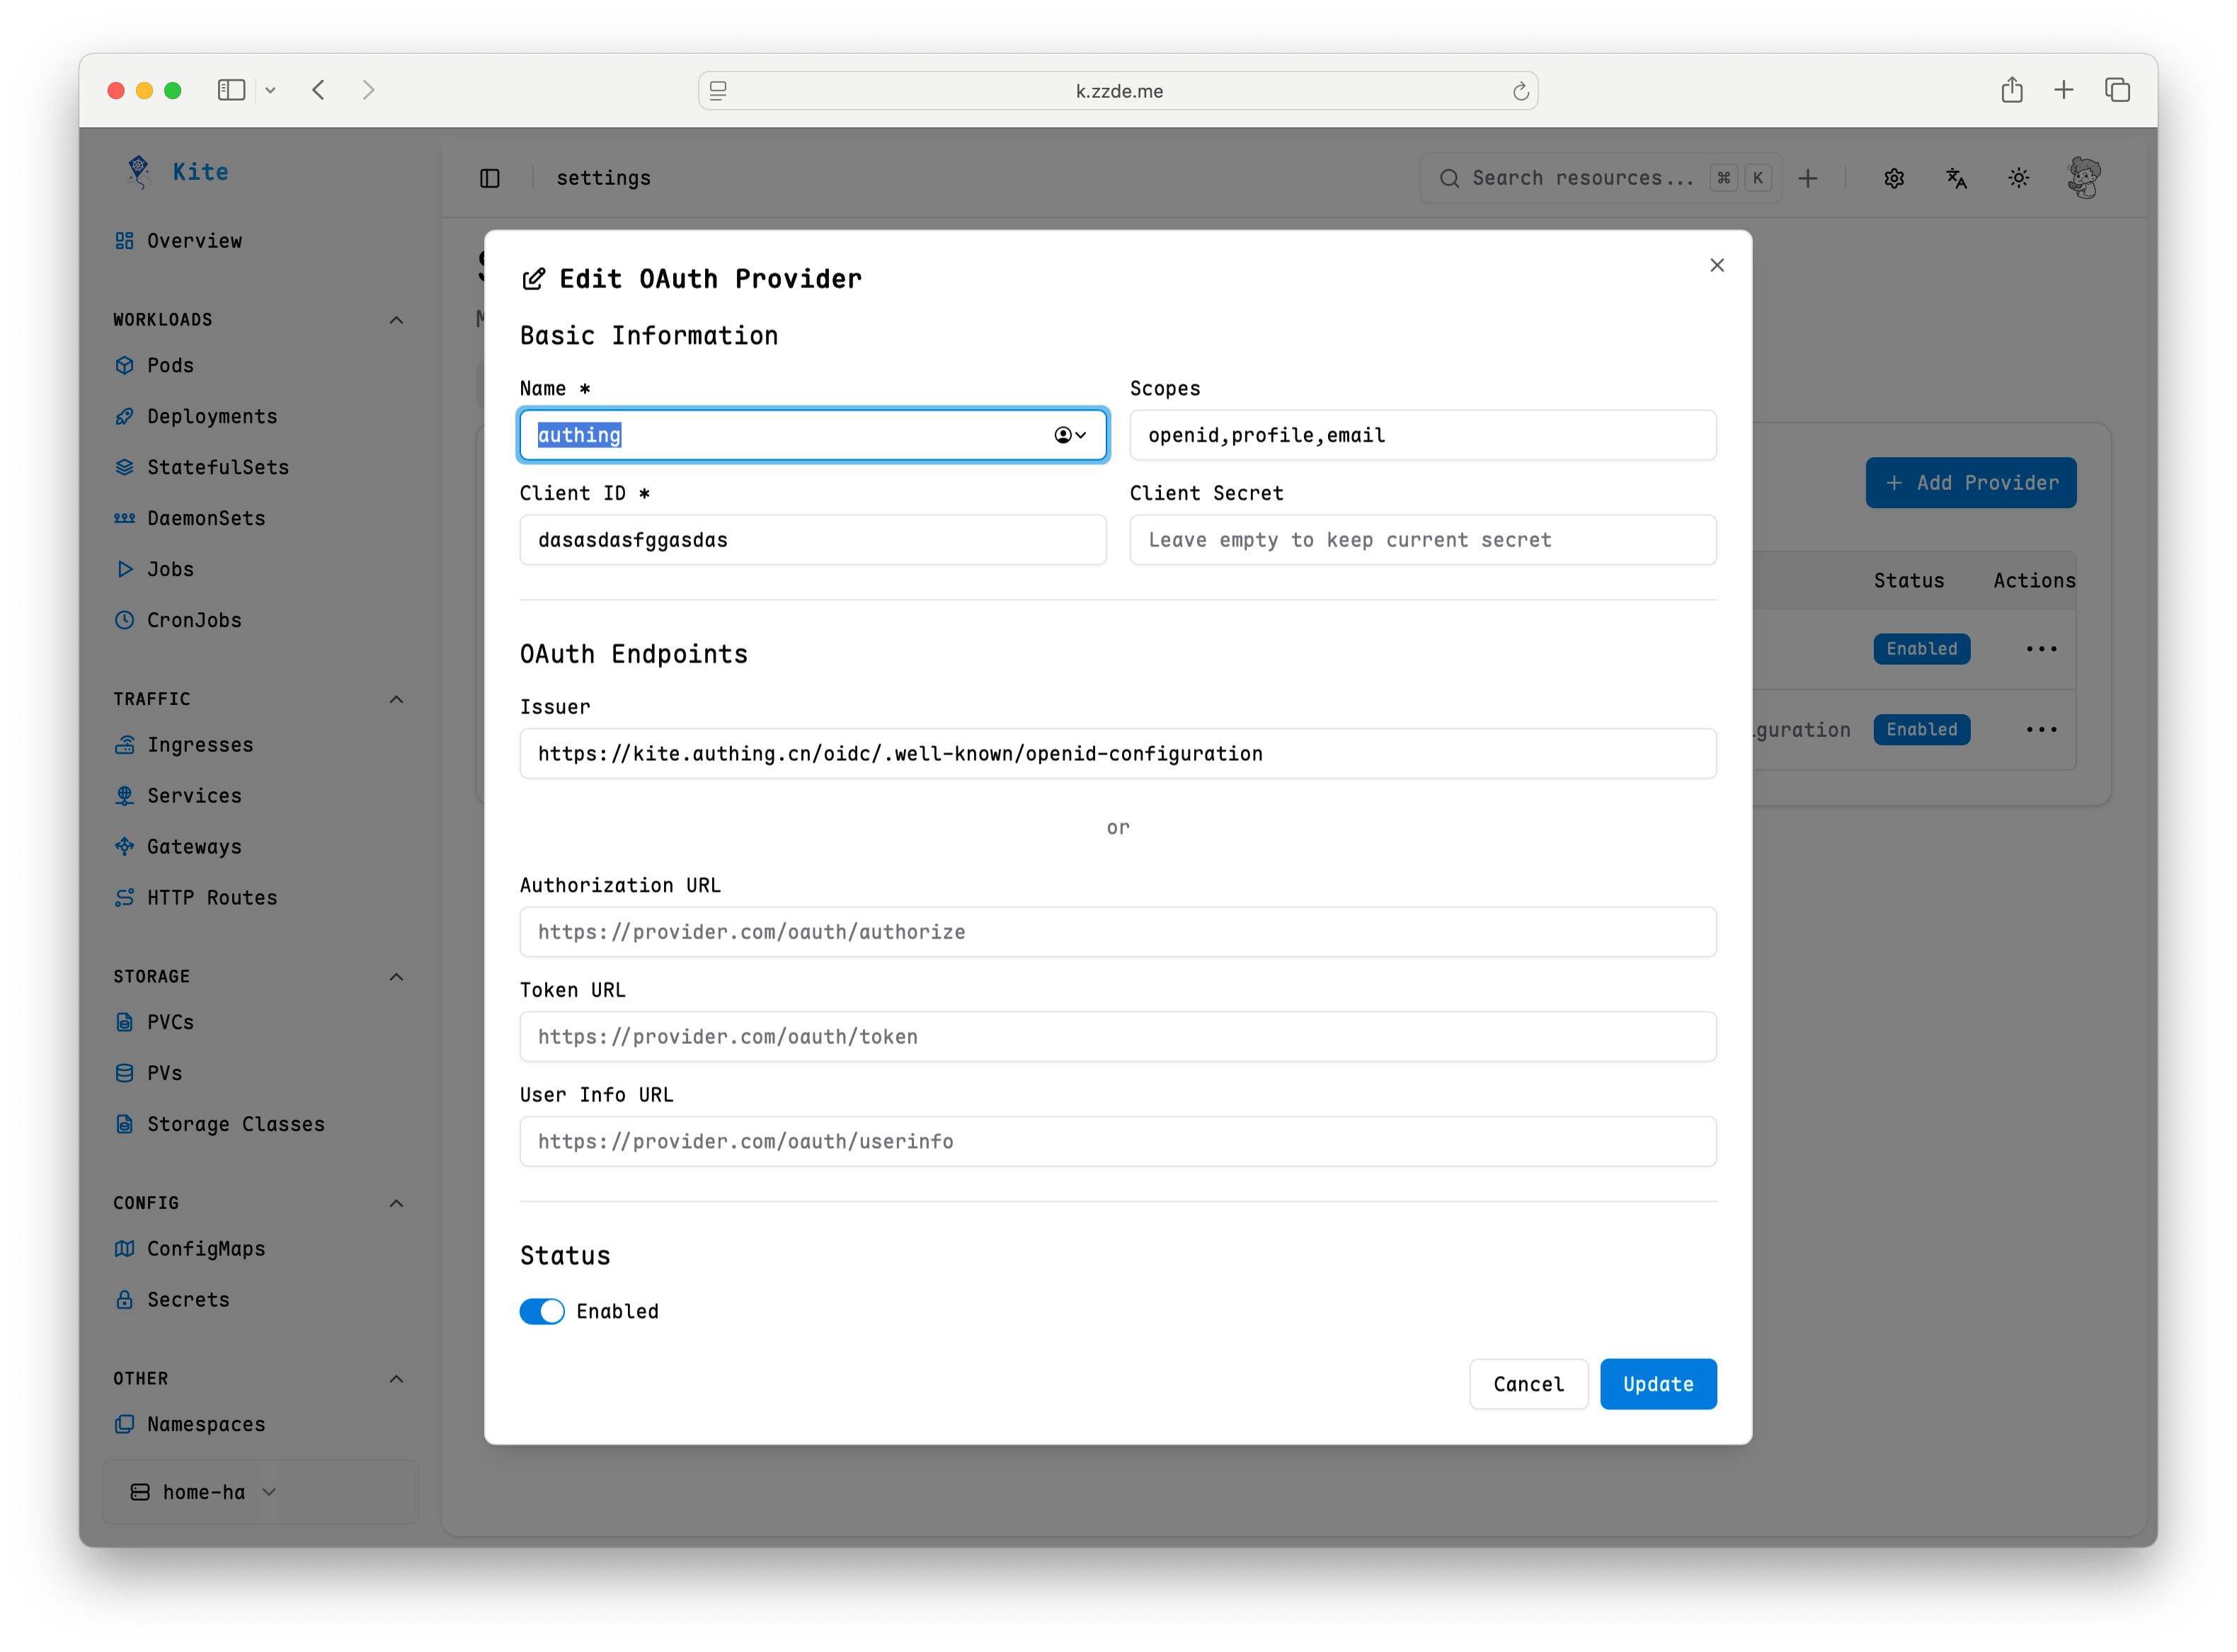
Advanced Settings
Kite supports overriding default OIDC claims and restricting access based on user groups. These options can be configured in the Advanced Settings section when adding or editing an OAuth Provider:
- Username Claim: Overrides the default claim used to extract the user's username (e.g.,
preferred_username,upn, ornickname). If left empty, Kite uses standard claims likeemailorname. - Groups Claim: Overrides the default claim used to extract the user's groups (e.g.,
groups,memberOf, orroles). If left empty, Kite defaults to standard group representations. - Allowed Groups: Restricts login to users who belong to specific groups. Enter a comma-separated list of group names (e.g.,
admin, developers). If configured, users must belong to at least one of these groups to log in. Users without a matching group are denied access.
Common Issues
User shows no permissions after login
By default, even after successful login, Kite will not grant any permissions to the user. You need to manually configure RBAC rules to grant access.
See the RBAC Configuration Guide for details.
How to map OAuth users to RBAC roles?
You can configure the mapping relationship between OAuth users and RBAC roles in the settings. For specific steps, please refer to the RBAC Configuration Guide.
Login failure
Generally, these are configuration issues. You can check the following points:
- Ensure the OAuth application's Client ID and Client Secret are configured correctly.
- Check if the redirect URI matches what is configured in the OAuth application.
- View Kite logs for more error information.